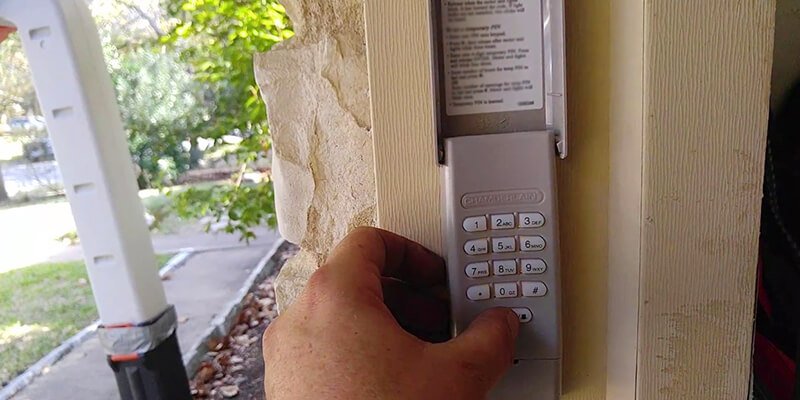
Are you looking to reset the code on your garage door keypad? Whether for enhanced security or simply to update your access settings, changing your garage door code is a straightforward process. This guide will walk you through each step, ensuring your garage remains secure and accessible to you and your loved ones.
Table:
| Step | Task | Details |
| 1 | Locate Learn Button | Find the Learn button on your garage door opener. |
| 2 | Reset Keypad | Hold the button until the LED light turns off. |
| 3 | Enter New Code | Key in your desired new code on the keypad. |
| 4 | Confirm Code | Press the Learn button again to set the new code. |
| 5 | Test Keypad | Try out the new code to ensure functionality. |
When it comes to enhancing the security of your home, one of the often-overlooked aspects is the garage door keypad. This small device grants you quick access to your garage and, consequently, your home. Here’s a detailed guide on how to change the code on your garage door keypad.
1. Identifying Your Keypad Model
Start by determining the make and model of your keypad. This is crucial as it dictates the specific instructions for changing the code. The make and model are usually listed on the back of the keypad or in the accompanying user manual. Knowing this information can also assist you in understanding the unique features and security protocols of your device.
2. Safety Precautions
Safety should always be your primary concern. Ensure the garage door is securely closed before attempting any changes to prevent it from inadvertently opening during the process. It is also wise to inform any household members about the change you’re about to make. This not only prevents potential confusion but also ensures that everyone is aware of the new code once changed.
3. Accessing the Garage Door Opener
To change the code, you will need to locate the ‘Learn’ or ‘Smart’ button on your garage door motor unit. This button is designed to facilitate the programming of your keypad and remote controls. The location of this button can vary, but it’s typically found on the back or sides of the motor unit.
4. Resetting the Keypad
The process of resetting your keypad may differ slightly among brands. Generally, it involves pressing and holding the Learn button until an indicator light turns off. This signals that the previous code has been erased from the system’s memory, allowing you to input a new one.
5. Entering the New Code
After resetting, you can now enter your new code on the keypad. When choosing a new code, ensure that it is secure and not easily guessable, yet simple enough for you and your family to remember. It’s a balance between security and convenience.
6. Finalizing the Code
Change With the new code entered, press the Learn button again to save the new settings. This step is critical as it registers the new code into the system, making it the primary key to access your garage.
7. Testing the New Code
It’s important to test the new code several times to confirm that it works correctly. Enter the code as you normally would and ensure the garage door responds appropriately.
8. Maintaining Security
For continued security, it’s recommended to change your keypad code periodically, such as every six months. This practice helps prevent unauthorized access and gives you peace of mind.
Troubleshooting Tips
If your keypad fails to reset or accept the new code, it’s time to consult the troubleshooting section of your user manual for specific instructions related to your model. Should problems persist, don’t hesitate to reach out to a professional for assistance.
Conclusion:
Changing your garage door keypad code doesn’t have to be a hassle. With these simple steps, you can ensure that your home remains secure. Remember, if you encounter any issues or prefer a professional touch, Infinity Garage Door in Austin, TX, is here to help. Our team provides quick, reliable, and friendly service to keep your garage door in top condition. Contact us today for all your garage door needs!


